stars

stars

Monday, May 1, 2017

On the loss of a pet

Pets are family. They share our ups and downs and are so loyal. My dog, Chai, is the chairdog of the morale department here in our house.  She keeps us all smiling. 

So when a pet passes away, it is painful. Recently a friend of mine lost her beloved cat. I made her this card to send my sympathy and to show I understand how difficult a loss this is for her.  


I used distress inks in green, blues and purples, then spritzed on some glacier glimmer mist to give the sky a celestial feel.  I used stardust paper from Crayola and white vellum cut with the stitched cloud border from Lawn Fawn. I placed the stardust paper behind the vellum to give a "silver lining" effect to the clouds.  I used the Wonderful Window die and the kitty is from the "Meow You Doin'?" set from Lawn Fawn.  I colored the cat and flowers with copic markers.  

Monday, April 17, 2017

Anniversary love

I made this card for my husband for our anniversary.  I used the die from Lawn Fawn's "Happy Mail" to make the tiny envelopes. and hearts. I used Aleene's tack it over and over glue for the hearts so they would stick the envelopes shut but not tear when opened.  Inside each little envelope I put a special memory, like places we've been, things only the two of us would know.  He loved it. 


Welcome Baby Morgan!

My good friend Stelisa was having her first baby a boy, and I made this card for her baby shower. She had a penguin theme for the shower and her nursery, so  I used the Stitched Hillside Pop Up die, the clothing from Little Bundle, and the penguins from Toboggan Together, all from Lawn Fawn.  Lettering is Milo's ABC's, also from Lawn fawn. 


Happy Engagement/Happy Wedding!

My daughter Megan and her boyfriend Jack recently got engaged.  To celebrate this happy milestone,  I made this card.  Two bunnies wishing on a star, looking out at the vast sky, and all that is to come!  <3


I used the little bunny from Lawn Fawn's Hello Baby stamp set.  Snowy Backdrop die, grassy hillside border die also from Lawn fawn.  I colored the bunnies with copics and created the night sky with Distress Inks.  I placed some Crayola stardust paper behind the stars to give them some sparkle.  I also put a star shooting across the sky for the bunnies to wish on by using Lawn Fawn's starry sky die.

Tuesday, March 28, 2017

Lawnfawnatics Challenge #1, card two

For this card I used the Lawn Fawn "Fairy Friends," and "Gleeful Gardens," and "Happy Happy Happy" stamp and die sets, as well as the "Hillside Pop Up," "Grassy Pop Up Add On," "Forest Border," "Leafy Tree Backdrop: Landscape," "Everyday Banners" and "Stitched Rectangles" dies.  All images colored with Copic markers.  I also used the Perfectly Plaid and Watercolor Wishes papers from Lawn Fawn.


Monday, March 27, 2017

LawnFawnatics Challenge #1, card number 1

Happy 7th Birthday Lawn Fawn!  And how fun to kick off the LawnFawnatics blog with a birthday themed challenge! 


The first is a circle slider card using Lawn Fawn the "Mermaid for You," "Finatastic Fishes" "You're a Star," and "Little Shellfish" stamp and die sets.  All images colored with Copic markers.  To create the channel for the slider, I used a Lawn Fawn circle die and a smaller Spellbinders circle, since I didn't have the Lawn Fawn circle slider die. 


Monday, January 2, 2017

Welcome 2017! Christmas card review.

Well, I don't know about you, but that last year---what I'm thinking of as "the year who will not be spoken of anymore" ---was a really bad year.  But a new one is here and we will dismiss thinking of "that year" now.  Bye Felicia!

I made 70 Christmas cards this year.  I started late, in November, and I have a resolve to make Christmas cards throughout the year so I can send more out to more people next year.    Here are the designs I came up with this year. 

I liked this one very much, I loved the vibrancy of the colors!  I used black embossing powder and embossed images on watercolor paper I'd previously painted.  I can't remember who made the Nativity stamp but the sentiment was from Avery Elle.


This one I lifted the design from Nicol Spohr's video on You Tube.  I loved the soft "glow" the overlay of vellum gave to the lights.  Die set here is String of Lights from Lawn Fawn. 

This card was kind of a simple design.  I liked the retro feel of the paper, which is from Pebbles, Inc.  I stamped the sentiment (which is from Avery Elle) using Versamark watermark ink and embossed using red glitter embossing powder from Zing.
  

I KNEW I had to make some cards addressing the nature of this past year.  So I chose "Oh Snap" from Lawn Fawn.  I have a ton of this gingerbread paper, too.

This was the original watercolor card I made.  I only made one of these, as I felt it wasn't Christmassy enough.  I liked the glitzy nature of it though.  Sentiment is from Avery Elle.

For this card I  kept things simple. Using older papers from my stash.  I also had the paper already die cut out from a craft show I had done last year so it was easy to put together. I like using kraft papers for Christmas cards, and I liked the sheer gold ribbon.  Gold embossing powder on the sentiment here, which is from Avery Elle.

This one was another design idea from Nichol Spohr, from a video on you tube.  Stamps from Lawn Fawn, colored with Copic markers.  I fell in love with that deer tangled in the Christmas lights!

I used a Di-namic die for this card, and made a snow background with clear glitter embossing powder.

This card was my favorite.  I made this card for my brother in law who has a French bulldog named Franklin.  Franklin lives in San Diego, and he'll never have a white Christmas, but he does on this card!  Presents, tree, dog dish are all from Lawn Fawn, as is the stitched hillside border.  That adorable doggie is from Avery Elle.  I colored this with Copics.  I had some tan paper with white dots on it and I used a layer of vellum over it to make it look like a snowy winter sky.

I did make a few others that I neglected to get pictures of, unfortunately.   Thanks for looking!

Sunday, September 27, 2015

A "deer" stamp set for Christmas

If you look up the word cute in the dictionary, I'm willing to bet you would see a Lawn Fawn stamp set to illustrate the meaning.  This company has such charming and sweet images and somehow these Christmas/winter themed stamp sets are even more adorable than usual!   I knew when I saw these in their preview in August, I HAD to have them for my Christmas cards this year. 

Toboggan Together and Ready, Set, Snow!  are made to coordinate, and each set has matching dies available. 


The critters have the patented Lawn Fawn charm, and are just made to be colored with Copics. 
If you don't have Copic markers, you can get some colored pencils and color them in with those.  Ordinary colored pencils can do a good  job and you can shade with them by just making the edges of the images darker and going toward the light in the middle.  Just keep layering the colors on and you can use an eraser to adjust the lightness in the middle.

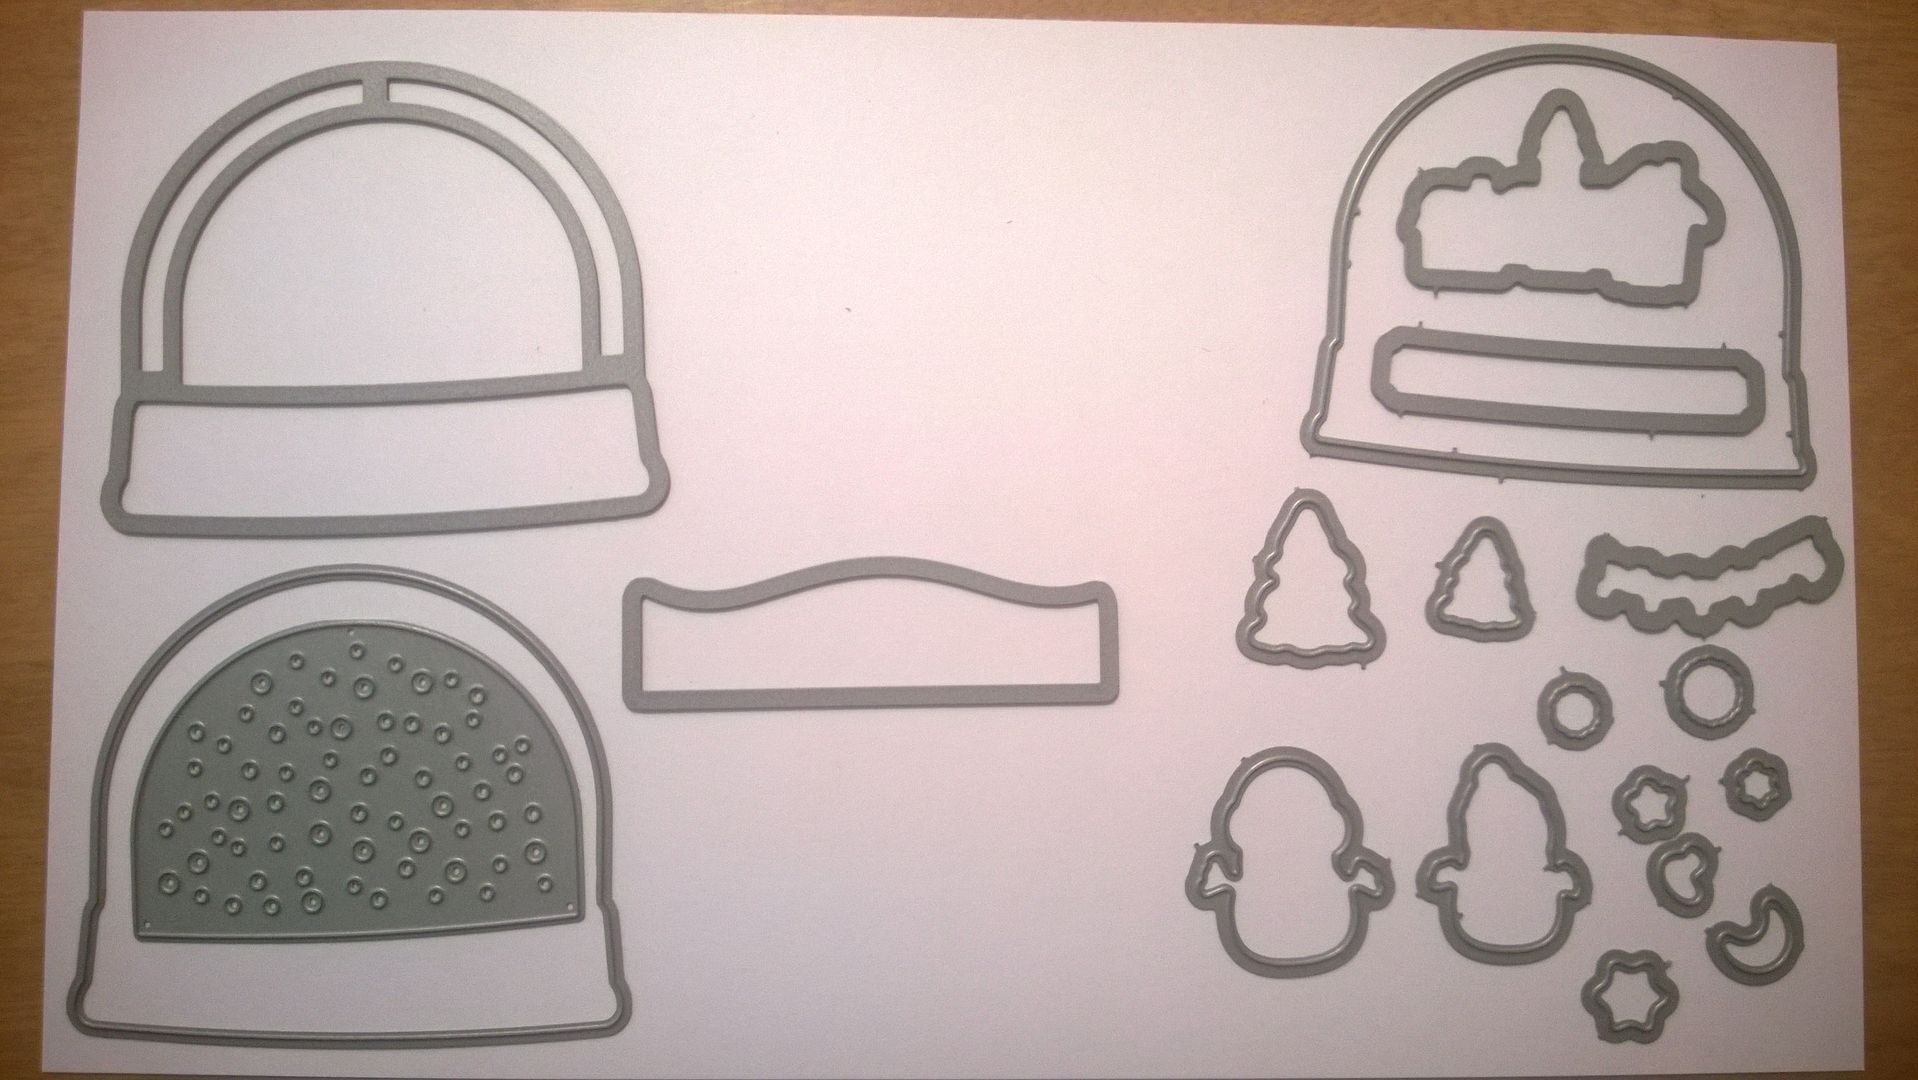
The Ready, Set, Snow stamp set has two sets of coordinating dies with them. One has all the critters and the other has more detailed dies for the snow globe, as you can see. 


The die set on the left cuts out the snow globe's window as well as the exterior of the snow globe.  It also contains a die for the "snow" to go in the globe.   The die set on the left includes one that cuts out the exterior of the snow globe that is the same as the one in the other set, and includes all the critters.

With the additional snow globe dies, you can easily make shaker cards by layering the globe window die (pictured upper left), with acetate, foam and cardstock.

The first card I made was this one.   I used a stand-up card from Stamps of Life.  I simply layered the papers and colored the images with Copic markers.  The die that cuts out the "snow" makes a nice effect when used with glitter paper, as I used here.  If you are making a shaker card, you can also use the "confetti" pieces that the snow background die makes as a filler for your shaker.   


I really like the little Santa and his reindeer shadow going over the little town. I layered the trees by popping one up with foam mounting tape.  The snowy patterned paper was from the dollar store a long time ago when they had patterned paper. I think it was Miss Elizabeth brand.


I made shaker ornament separate from the card base for this one.  Kelly from Lawn Fawn has a tutorial showing how to make shaker cards with this set using foam and cardstock.  I colored the deet with Copic markers and filled the shaker with some small beads, bugle beads and some tiny snowflakes I had a die for.  Papers are from Echo Park. Twine from the Twinery.  I punched two little holes in the base of the card and tied the string from the top of the ornament in the bow, so the ornament will be able to be easily removed and can be hung on the card recipient's tree. 

Thanks for looking! 

Monday, September 14, 2015

Thinking of You.

There's a lot to be said for "snail mail."  We who make and send our own cards know that.  In this age of so much information, it's nice to get an old fashioned card "just because" or to let someone know they are on our minds and in our hearts.  I made this card for my step brothers.  My step mother passed away earlier this year and her birthday is coming up.  I know it's been difficult for them this year and I know they will be missing their mother on her birthday as will I.  My father and his wife were very much in love.  Before my dad passed, he told my stepmother that he would come back to her as a butterfly.  One day as she was sitting feeling very down, missing him, a big butterfly came and landed right on her hand.  She was full of hope and faith after this.  So I wanted to use two butterflies on the card.


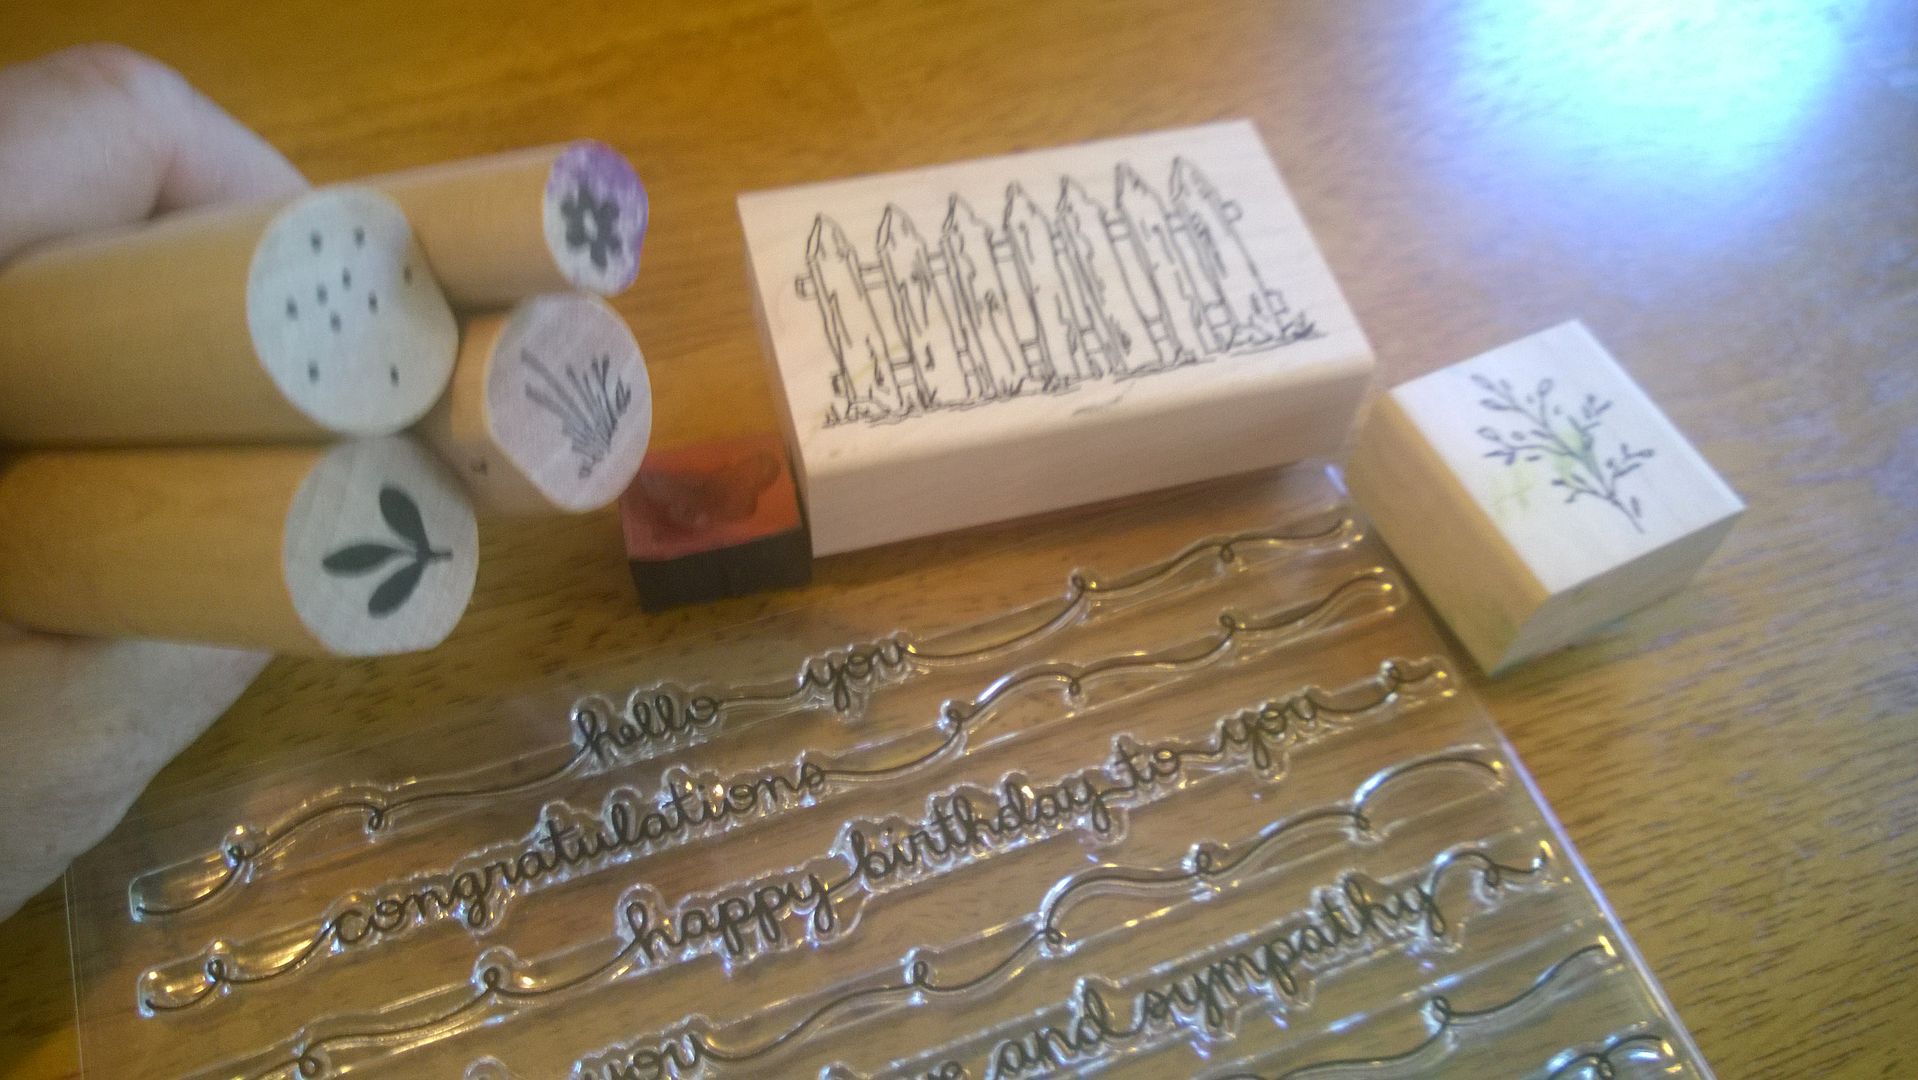
I used Gina K heavy cardstock for the image, and sprayed it with glacier glimmer mist  on the top, and olive glimmer mist on the bottom.  I stamped the fence (not sure of the manufacturer on that).  Then I added the grass, flowers, bushes, dots, and leaves with various inks (Versamark, Distress Inks) and colored in the fence and butterflies with copic markers.  The stamps used for the garden are from Stamps by Judith, and the butterflies are from Making Memories.   The sentiment is from Lawn Fawn, "script sayings". I just love those sayings!  


The Stamps by Judith are a little different.  Many of them come on long sticks.  They are all designed to go together and really make sweet garden like scenes.   It's also fun to have a shape cut out, like an oval or heart, and make a border on a card with these floral stamps.  Very wreath like.


thanks for looking!


Saturday, March 14, 2015

Bee Happy

I used Stephanie Bernard's "Bee4me" stamp set, and I bought the card base already embossed with the honeycomb design on it from Studio G.  The "Happy" die is from Stephanie Bernard as well, it came in a card kit.  She has amazing card kits!  It's like a little gift to myself every month when that box comes.  You can check out the card kit, stamp and die clubs she has on her website.  I belong to all three.  Prices are very reasonable, and if you are in the club you get a 10% discount on all other products.  The word "bee" comes from a Lawn Fawn "bee mine" mini set.  Polka dot paper from Reflections.  I have a ridiculous amount of polka dot and striped paper!  I find it very versatile for so many projects.  Black ink is Versamark. 

Wednesday, March 11, 2015

Birthday Card Organizer

I like making something from things that would ordinarily be thrown away. I love "found object" art as well.  I saw an idea on another blog (I'm sorry, I can't remember which one. If you recognize this project as similar to another one you've seen please let me know and I will give a link to that project as well.) to make a birthday card organizer.  I love making cards and it would be great to make them in advance and put them into a little file for sending when the time comes.  I started looking for a little box to alter and found that the boxes that hold the little "K cups" are perfect for this purpose.

Here is my completed project: 


In order to do this, I used the K cup box and took off the lid. 
 
 
I covered the box in paper, and because I wanted a rather shabby chic kind of look, I used different papers on the front, back, and sides. 


I also covered the insides of the box with coordinating paper so it would have a more finished look. 
 
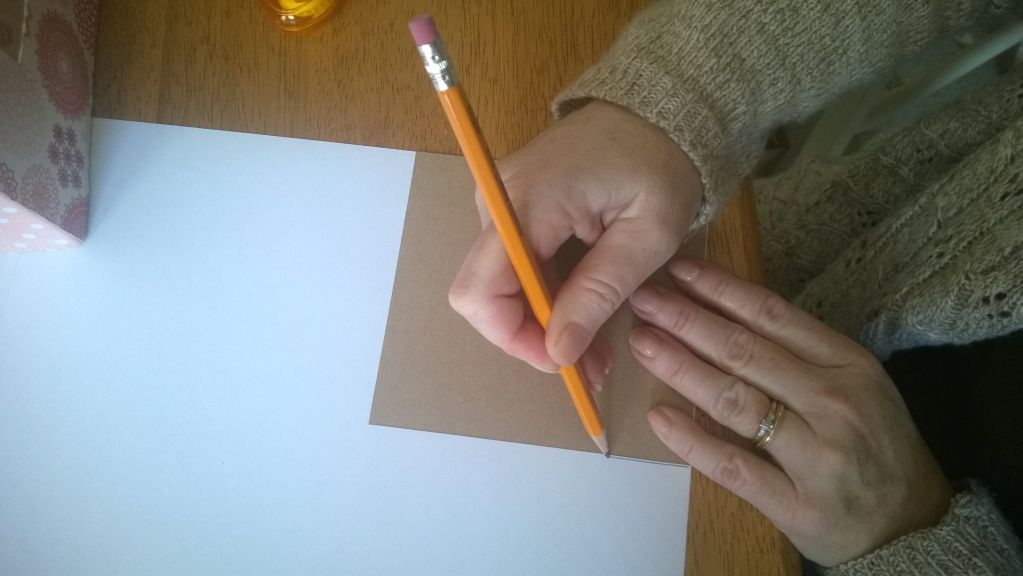
I then cut out squares to fit the box from chipboard, and covered those with paper.  I'm not big on using rulers to measure so I just traced around each piece of chipboard.  
 
 
I made twelve of these pieces, one for each month. 
 
 
I then inked each one, and added a tab at the top with the month, and a piece of lined paper to put the names and dates for each birthday for that month so I could see at a glance the birthdays that were coming up.
 
 
I used Spellbinder's dies for the circles, Tim Holtz distress ink in antique linen and tattered rose, and a variety of patterned paper that I had scraps of lying around.  This is a good project to use up scraps!
 
I hope this system helps me become more organized.  I don't usually forget birthdays, but I do find myself often scrambling to make a card at the last minute.  Perhaps this will help me to have some cards prepared in advance.  One can always hope! 


Saturday, May 24, 2014

Sympathy card

I made this sympathy card for my mom to give to one of her friends.  I used Studio G card base, Bazzill cardstock (pink) and two stamp sets from Sweet and Sassy Stamps.  I colored the image with copic markers. 

Call Me!

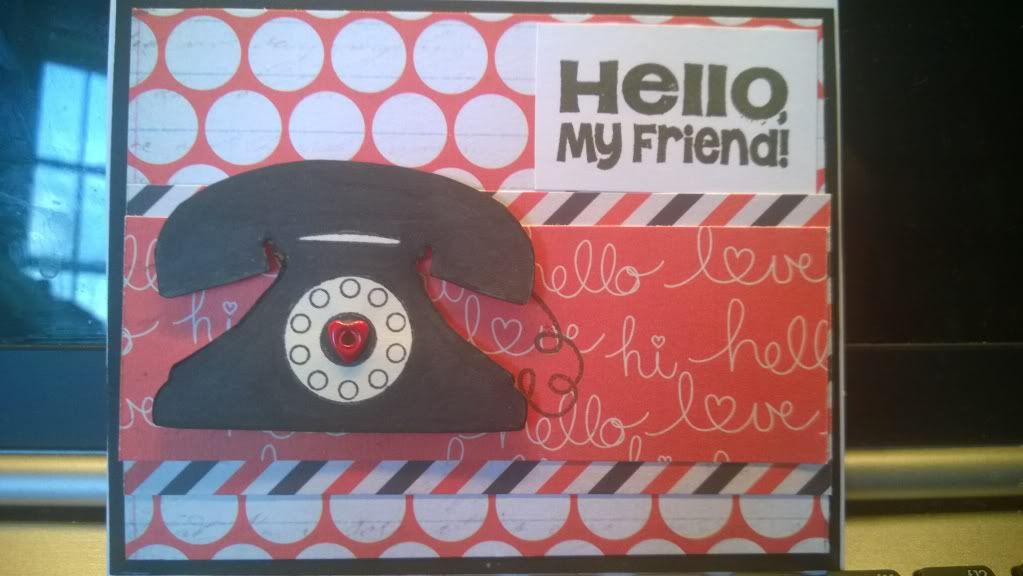
I made this card with a stamp set from Stephanie Bernard's Stamps of Life and patterned paper "switchboard" by Pink Paislee.  

Thursday, May 8, 2014

Happy Mother's Day

I made two Mother's Day cards this year, both utilizing the Silhouette cutting machine. 

card one: 
 
this is the card I made with my Daughter's card class.  I have found when gluing very delicate pieces of paper like the darker outline on this rose, it's best to use a spray adhesive.  Using a Xyron sticker maker works, but then you wind up with the little bits of glue in the small places that are hard to remove.  This way it's much cleaner. 
 
Card two: 
 
This card was also cut with the Silhouette.  I adhered it onto white cardstock, then used copic markers to color in the images. 

Wednesday, April 30, 2014

Lawn Fawn Love 'n Breakfast

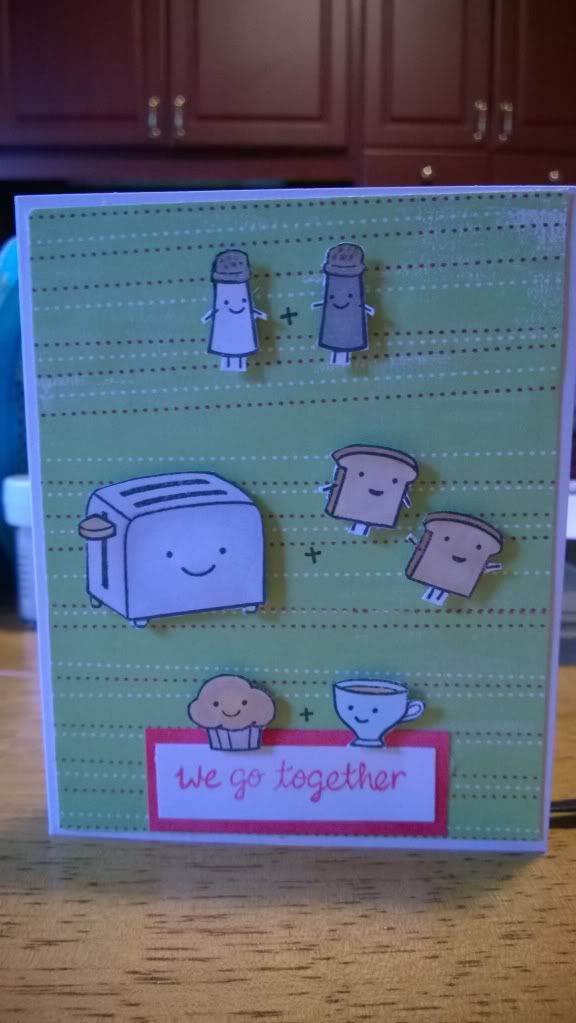
I absolutely love Lawn Fawn stamps!  The sweet little smiles, the charming little sayings, they get me every time.  


Like Peanut Butter and Jelly

When I first saw this stamp set I thought, "What in the world will I do with this?"  But I have warmed up to it, and once I started using it I thought it was very cute.  I made this card for my husband who was having a rough time at work.  I snuck it into his car and later in the day sent him a text to look for it.  Doesn't matter how long you have been married, your sweetie still likes to get a little love note from time to time! 


Sunday, November 24, 2013

Chocolate Sleigh

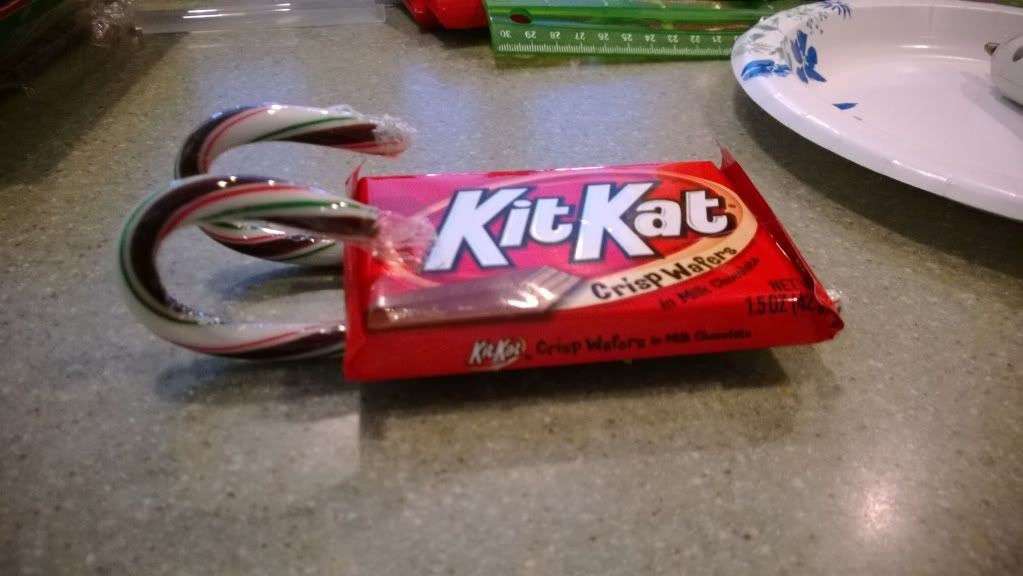
Who doesn't love chocolate?  I don't know anyone who doesn't love chocolate, but if I did I wouldn't trust them!   My children did this craft at their church youth group and I thought it really clever and cute.  I am making a bunch of these to give to my friend Carolyn.  She's in a nursing home and she loves to give gifts, so I thought these would be nice to give to her so that she can give them out to friends who visit as well as friends she's made there.  I think they would make good little gifts for people like teachers, priests or pastors, hairdressers, or others who make our lives a little brighter all year long.  I'm going to give one to the man who does my nails and my milkman too!  You could also tape a gift card underneath. 


You need a hot glue gun, candy canes, Hershey's miniature chocolates (Christmas edition is nice), ribbon and mini bows.  Three bags of miniatures, two packages of candy canes, and two packages of regular size Kit Kat bars made approximately 11 sleighs.  I would suggest buying one more extra of the miniatures and the candy canes because the candy canes can break.


I used a glue gun to assemble this.  If you want to do this as an activity with your children, I would suggest having an adult use a glue gun to adhere the candy canes to the Kit Kat bars, and have the children use white glue to adhere the Hershey's miniatures in a pyramid on top, then have the adult adhere the ribbons and bows with a glue gun.


When gluing on the candy canes, make sure the curved end is out far enough from the Kit Kat bar so that a miniature can hang over the edge slightly.  If the curved part is too close you won't be able to fit the miniature underneath.  To make the sleigh look uniform, use the same color wrapper on each layer, and orient the bars the same way on each layer.


Happy sledding! 
Tuesday, September 24, 2013

Homeschool Card Class #1

Since I homeschool my children I thought it might be fun to have a once a week art activity with card making and scrapbooking.  I was a little apprehensive at first but since I was eased into it with having only Mary and one student, our neighbor Markia, it was easier.  I am hoping to add several other children and their mothers as the weeks progress.    Here are the cards we worked on today:  


In making these cards, I had the girls use my Grand Calibur die cutting system, Spellbinder's dies, Distress Ink, Stephanie Bernard Ink and Stamps. 
 
They were pleased.  Next week I've asked them to bring a picture of themselves and we will make a card and a layout.  We are going to start a scrapbook for each of them.


Tuesday, June 18, 2013

Congratulations and Happy Birthday!
Ok...two more cards.  One is for my dear friend Jeannine's birthday and the other is for my lovely goddaughter Laurel's graduation. 

Here's Laurel's card:
 
And here is Jeannine's: 
 
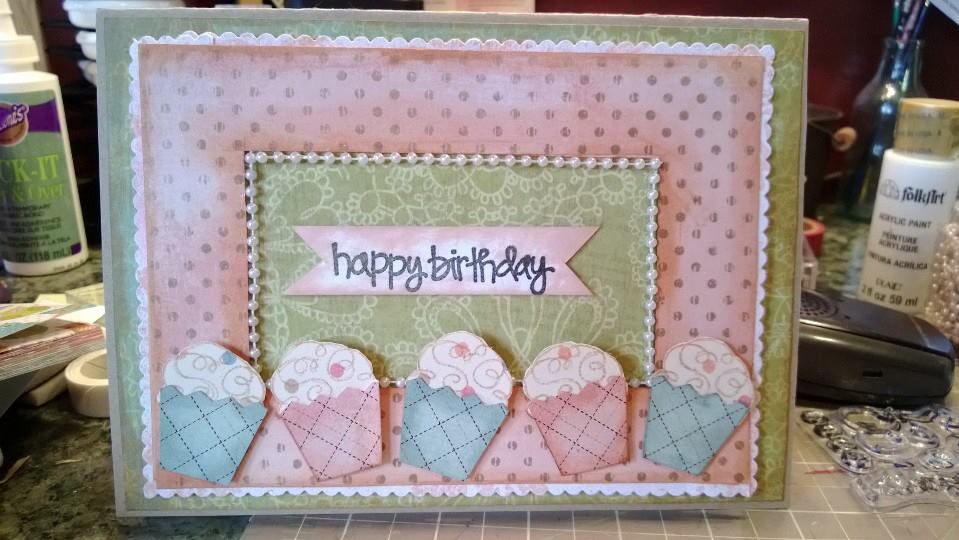
I used "Homespun" patterned paper by Colorbok, Tim Holtz distress inks in tattered rose, weathered wood and tea die.  Label on Congrats card is from Spellbinders.  Cupcake stamps are from Fiskars. 
 

Wednesday, May 8, 2013

Happy Mother's Day!

I made some Mother's Day cards using my Silhouette.  I loved this cutting pattern, it had little flowers all over it.  This is what it looked like coming out of the machine, and after I used a toothpick to poke and bend the petals through. 
 
Then I inked the flowers by brushing a Cat's Eye inkpad over the petals. 
 
 
I tried something new that I never tried before.  I took a Spellbinders label die and inked it prior to cutting the paper.  When the die cuts the paper, it inks the parts of the die cut that are not embossed. 
 
 
Then I mounted the papers onto the card, attatched the label and added some twine from The Twinery..  I like the way the labels came out, but you have to be careful during the process not to smear the ink.
 
 
 There is also a pattern similar to this one on the Silhouette site, one that uses hearts instead of flowers. 
 
Thanks for looking!!