I used Stephanie Bernard's "Bee4me" stamp set, and I bought the card base already embossed with the honeycomb design on it from Studio G. The "Happy" die is from Stephanie Bernard as well, it came in a card kit. She has amazing card kits! It's like a little gift to myself every month when that box comes. You can check out the card kit, stamp and die clubs she has on her website. I belong to all three. Prices are very reasonable, and if you are in the club you get a 10% discount on all other products. The word "bee" comes from a Lawn Fawn "bee mine" mini set. Polka dot paper from Reflections. I have a ridiculous amount of polka dot and striped paper! I find it very versatile for so many projects. Black ink is Versamark.
Welcome to my blog, where I share things I make and things I think. Some of it will be good. Promise.
stars

Saturday, March 14, 2015
Wednesday, March 11, 2015
Birthday Card Organizer
I like making something from things that would ordinarily be thrown away. I love "found object" art as well. I saw an idea on another blog (I'm sorry, I can't remember which one. If you recognize this project as similar to another one you've seen please let me know and I will give a link to that project as well.) to make a birthday card organizer. I love making cards and it would be great to make them in advance and put them into a little file for sending when the time comes. I started looking for a little box to alter and found that the boxes that hold the little "K cups" are perfect for this purpose.
Here is my completed project:

Here is my completed project:

In order to do this, I used the K cup box and took off the lid.
I covered the box in paper, and because I wanted a rather shabby chic kind of look, I used different papers on the front, back, and sides.
I also covered the insides of the box with coordinating paper so it would have a more finished look.
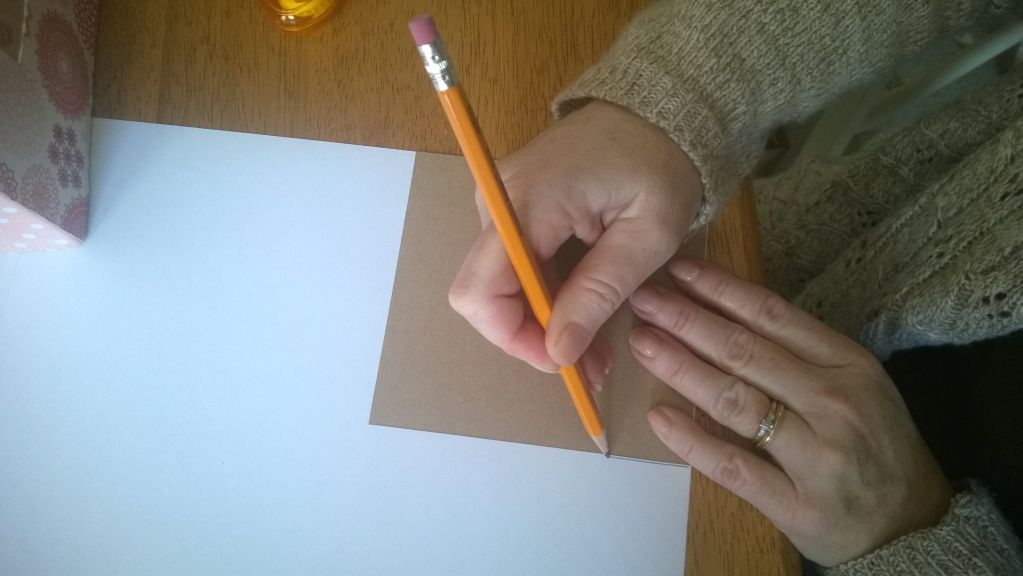
I then cut out squares to fit the box from chipboard, and covered those with paper. I'm not big on using rulers to measure so I just traced around each piece of chipboard.
I made twelve of these pieces, one for each month.
I then inked each one, and added a tab at the top with the month, and a piece of lined paper to put the names and dates for each birthday for that month so I could see at a glance the birthdays that were coming up.
I used Spellbinder's dies for the circles, Tim Holtz distress ink in antique linen and tattered rose, and a variety of patterned paper that I had scraps of lying around. This is a good project to use up scraps!
I hope this system helps me become more organized. I don't usually forget birthdays, but I do find myself often scrambling to make a card at the last minute. Perhaps this will help me to have some cards prepared in advance. One can always hope!
Subscribe to:
Comments (Atom)


