stars

stars

Tuesday, September 24, 2013

Homeschool Card Class #1

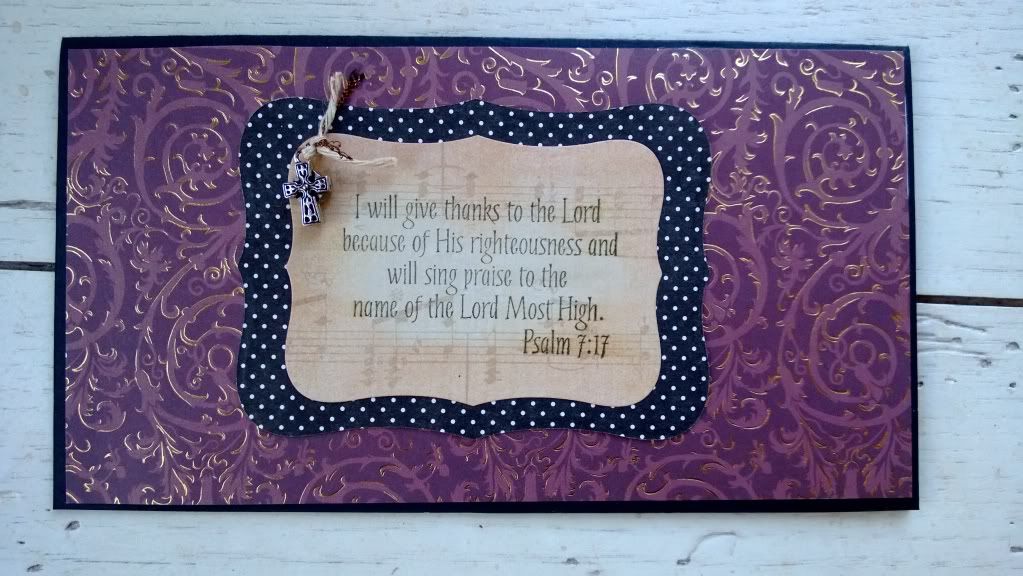
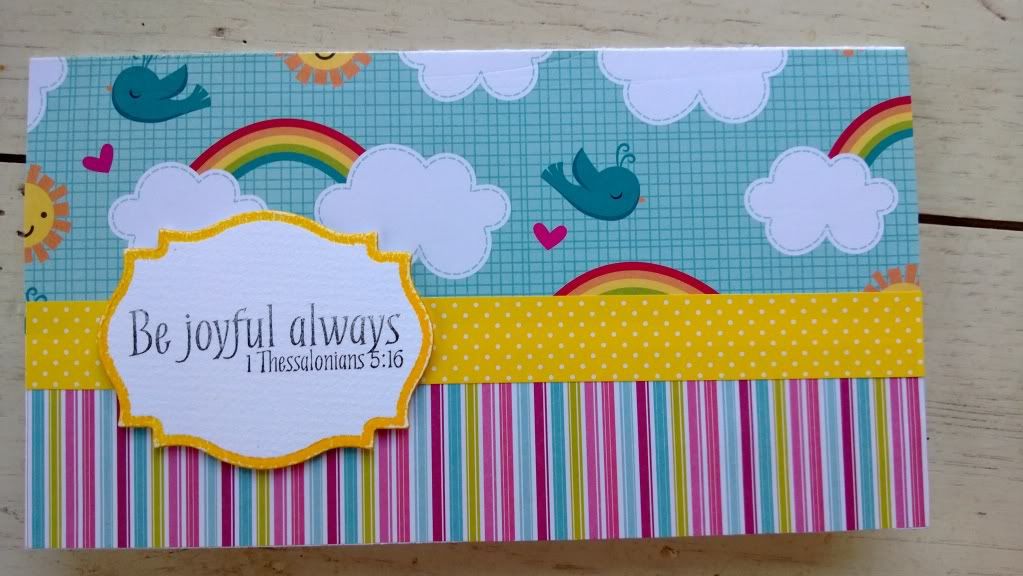
Since I homeschool my children I thought it might be fun to have a once a week art activity with card making and scrapbooking.  I was a little apprehensive at first but since I was eased into it with having only Mary and one student, our neighbor Markia, it was easier.  I am hoping to add several other children and their mothers as the weeks progress.    Here are the cards we worked on today:  


In making these cards, I had the girls use my Grand Calibur die cutting system, Spellbinder's dies, Distress Ink, Stephanie Bernard Ink and Stamps. 
 
They were pleased.  Next week I've asked them to bring a picture of themselves and we will make a card and a layout.  We are going to start a scrapbook for each of them.


Tuesday, June 18, 2013

Congratulations and Happy Birthday!

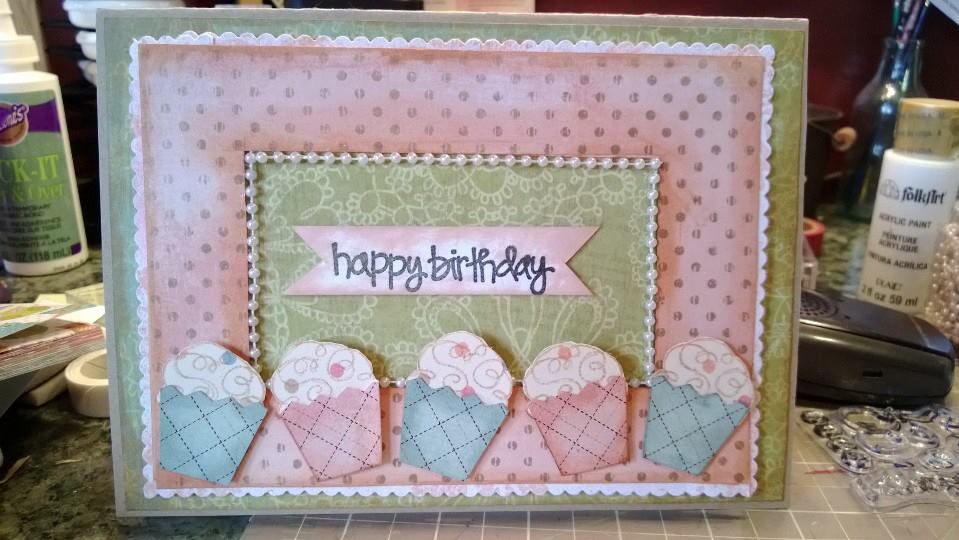
Ok...two more cards.  One is for my dear friend Jeannine's birthday and the other is for my lovely goddaughter Laurel's graduation. 

Here's Laurel's card:
 
And here is Jeannine's: 
 
I used "Homespun" patterned paper by Colorbok, Tim Holtz distress inks in tattered rose, weathered wood and tea die.  Label on Congrats card is from Spellbinders.  Cupcake stamps are from Fiskars. 
 

Wednesday, May 8, 2013

Happy Mother's Day!

I made some Mother's Day cards using my Silhouette.  I loved this cutting pattern, it had little flowers all over it.  This is what it looked like coming out of the machine, and after I used a toothpick to poke and bend the petals through. 
 
Then I inked the flowers by brushing a Cat's Eye inkpad over the petals. 
 
 
I tried something new that I never tried before.  I took a Spellbinders label die and inked it prior to cutting the paper.  When the die cuts the paper, it inks the parts of the die cut that are not embossed. 
 
 
Then I mounted the papers onto the card, attatched the label and added some twine from The Twinery..  I like the way the labels came out, but you have to be careful during the process not to smear the ink.
 
 
 There is also a pattern similar to this one on the Silhouette site, one that uses hearts instead of flowers. 
 
Thanks for looking!!


Monday, April 22, 2013

Say Hello to Emma Jane

I'm going to meet my newest niece this weekend.  I made this layout, using her birth announcement, as a gift for her parents.

I had fun with this, using the silhouette to make the flower in the upper left and the fence on the upper right.  A honeycomb patterned paper from My Mind's Eye is the background.  The pink piece of paper I made using Tattered Angel's glimmer mist in vintage pink.  I stamped a flower image all over that using tattered rose Distress Ink  I distressed and inked the edges using tea dye Distress Ink..  I used My Mind's Eye paper for the rosette, and the Princess sticker is also from MME.  The rolled rose I made using music paper from a book I bought at a second hand store.  I used various scraps and buttons to make the banner. 

Thursday, April 4, 2013

Find Me

My beloved father passed away on March 27, 2013.  He was an incredible man who helped many people and who loved and was loved very deeply.  He'd been in frail health for a few years.  My stepmother had shown me this song, "Find Me," by David Gates, and told me that if she were to die first she wanted this played at the funeral.  So I knew it was special to her.  I made this layout for her, with the words of the song.   She liked it when I gave it to her.  I hope whenever she looks at it, she will know that she will indeed find my father once again.  (you'll have to click the link, I couldn't get it to post here correctly. Someone let me know if you can't see it.)
 

 http://s229.photobucket.com/user/mgpm17/media/temporary_zps53944417.jpg.html?state=replace


Here is the song.  It's beautiful. 

http://www.youtube.com/watch?v=JzjnK6gRZjU

Monday, March 25, 2013

Easter 2013

Well, it's *supposed* to be spring, but this is what it looks like here today: 

 
No matter, in a few days it will be Easter, snow or no snow.  Here are some Easter cards I made this year:
This is the one I made for my nephews.  It's kind of a challenge for me to make cards for them that are still fun but not too girly.  The paper and stamp are from Imaginisce.  I love their little stamp sets, and that they coordinate with their papers.  I used Copic and Spectrum Noir markers for the bird, eggs, and nest.  The "Happy Easter" stamp is from Studio G.
 
I love the look of banners, and I like using twine and bright colors.  This paper is from the Echo Park "Springtime" line.  I can't tell you how versatile this one pack of papers has been.  I've been using it and using it for over a year and I still have more to use.  It works great for small things like this. The twine is from We R Memory Keepers (Lollipop), brads are from Creative Impressions.  I printed the sentiment out on the computer using "Cotton Candy" font.
 
 
I had to make a special card for my newest niece, Emma Jane, as it is her very first Easter.  I used Bazzill cardstock, patterened paper from Making Memories (Boho Chic), ink from Versamark. I don't know who makes that flower brad...it's been in my stash too long!  Funny Bunny stamp from Studio G.  I used a Martha Stewart border punch to make the scalloped lace edge.  I cut the egg shape and the pink Peep bunny from my Silhouette.  I got this cute card idea from my friend, Elizabeth Mindemann.  She had done it with a chick inside the egg, which is also very sweet.
 
I hope everyone has a blessed Easter.


Monday, March 18, 2013

Organization Nirvana!

I am messy.  I've always been a little messy.  My mom used to get notes from my teachers about my messy desk in grade school.   Not much has changed in 37 years.


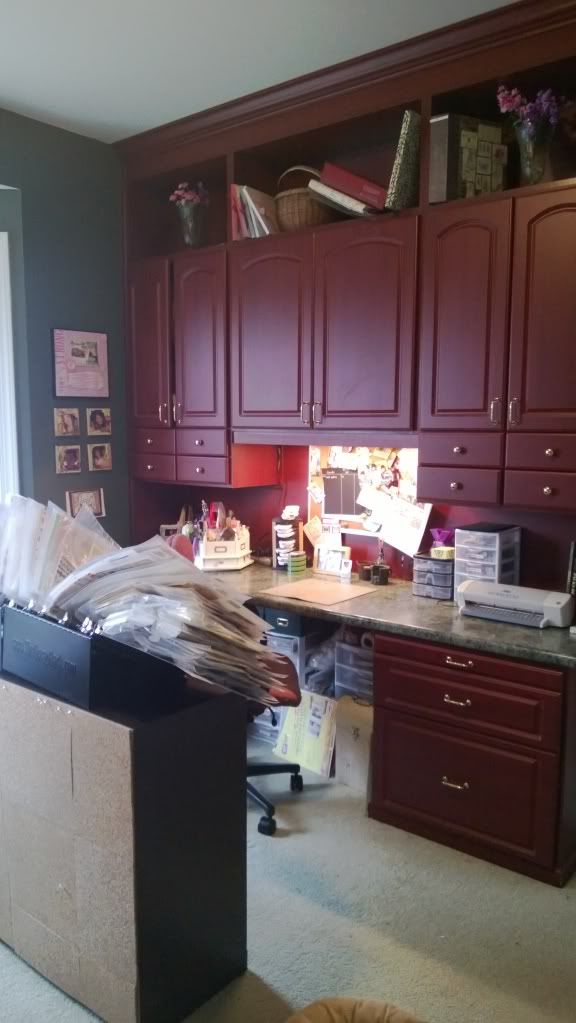
You can see that I attempted to be organized. I bought drawers upon drawers and I labelled everything in sight.  I tried to have some kind of system.  But I never could keep it clean.  I had too much stuff I didn't use clogging up space.  I would put things away only to forget that I ever had them, and I'd buy MORE stuff.  This hindered my creativity because who wants to sit in a pig's sty where things get lost and there is no space for anything?
 
  Then I took a course by Tiffany Spaulding.  She is then inventor of the Scraprack, which is an organizational system.  You could also call it a "miracle," because it finally got me on the track to cleanliness (which as we all know, is next to Godliness) and being able to access stuff quickly and put it away (which is KEY) just as quickly.  I had the ability to group like things, label them, and put them away.  But not being able to find things, purchasing more things, and then running out of space was killing my creativity. 
 
So I watched Tiffany's webinar on organization, which was free.  She said we didn't have to purchase a scrap rack.  I looked at it and decided I would make one out of large three ring binders and plastic sleeves I found at wal mart.  I quickly found out this was not going to work.  Stuff was slipping out of the pages, etc.  I realized I needed a genuine scraprack.  I was taking a risk, it wasn't cheap (my initial purchase of scraprack unit plus extra sleeves cost approximately $200.  I wasn't sure I liked the way the scraprack looked, either.  But I was in.  I was desperate.
 
Tiffany has you separate things into categories.  You create your own categories, and she gives helpful guidelines.  My categories are:  Letters and Numbers, Templates and Tags, Sentiments, Animals, Baby/Boys and Girls, Birthday, Bling/Flourishes, Ephemera, Faith, Floral/Nature, Masculine, Travel, Vintage, Spring, Summer, Winter, Fall, Red, Orange, Yellow, Green, Blue, Purple, White, Black, Neutrals, Multicolor, and Shapes.  Instead of putting stamps with stamps, and eyelets with eyelets, etc.,  all alphabet things (alphabet stamps, alphabet stickers, alphabet chipboard) went together.  All birthday themed things went together, all red things went together and so on.  I had to separate EVERYTHING in my stash into these categories and purge some stuff. It was hard to let go of some things, but I found giving to friends and to good causes helped the pain of that.  I gave away about 5 medium size boxes of stuff.  I got a little discouraged when I realized I'd have to have an expansion unit for my rack.  And all this took a VERY long time to complete.  But I will say it has been worth it!  Now look at my more functional and certainly MUCH cleaner space! 
 
 
I have the rack sitting directly behind me, so all I have to do is turn around to have easy access to supplies.  Looking through the supplies gives me inspiration and encourages me to USE what I HAVE instead of buying more stuff.  I can very easily put things away. 
I put cork board on the back of the shelving unit so my kids could put pictures up there of their artwork. 
Look at all the space I have on my desk now!!! 
 
I have a few finishing touches I'd like to do, but I'm so pleased with how this has gone so far.  I've made a few cards and a couple of layouts and I love the access to things and the ability to put things away! 
I did learn a few things about myself.  I buy way too much, especially letters and alphabets.  I tend to buy two or three sets of a type of letter so I don't run out of letters.  I also am something of a pack rat....I had *8* magazine holders full of scrapping magazines.  I need to be more prudent about what I buy from now on. 
 
But I wholeheartedly endorse the Scraprack and the method Tiffany uses!  For more information about the Scraprack and her organizational methods, go here
Tiffany is expanding her organizational expertise into other areas of the home as well, and plans to make more classes about general home organization.