stars

stars

Wednesday, March 11, 2015

Birthday Card Organizer

I like making something from things that would ordinarily be thrown away. I love "found object" art as well.  I saw an idea on another blog (I'm sorry, I can't remember which one. If you recognize this project as similar to another one you've seen please let me know and I will give a link to that project as well.) to make a birthday card organizer.  I love making cards and it would be great to make them in advance and put them into a little file for sending when the time comes.  I started looking for a little box to alter and found that the boxes that hold the little "K cups" are perfect for this purpose.

Here is my completed project: 


In order to do this, I used the K cup box and took off the lid. 
 
 
I covered the box in paper, and because I wanted a rather shabby chic kind of look, I used different papers on the front, back, and sides. 


I also covered the insides of the box with coordinating paper so it would have a more finished look. 
 
I then cut out squares to fit the box from chipboard, and covered those with paper.  I'm not big on using rulers to measure so I just traced around each piece of chipboard.  
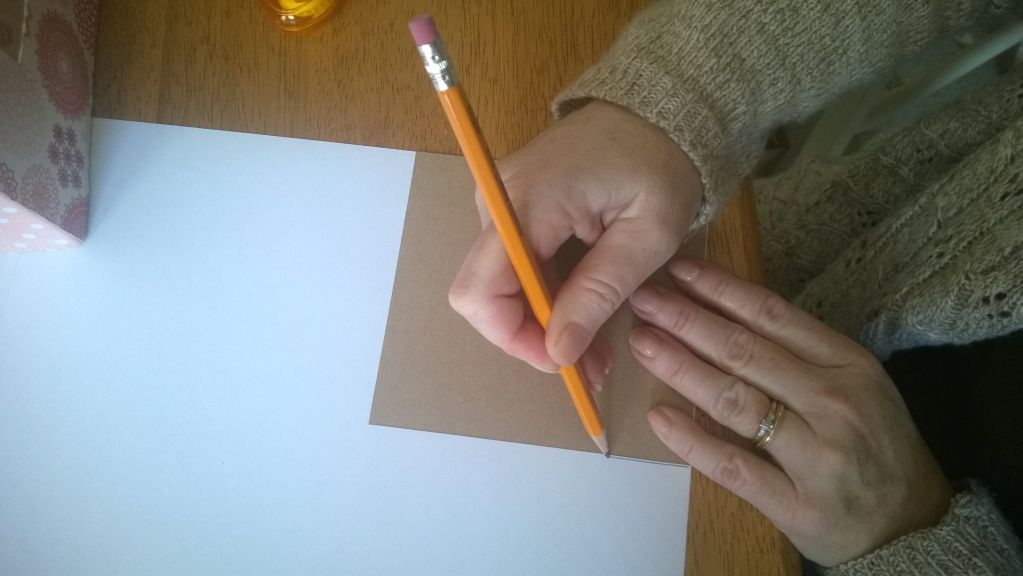
 
 
I made twelve of these pieces, one for each month. 
 
 
I then inked each one, and added a tab at the top with the month, and a piece of lined paper to put the names and dates for each birthday for that month so I could see at a glance the birthdays that were coming up.
 
 
I used Spellbinder's dies for the circles, Tim Holtz distress ink in antique linen and tattered rose, and a variety of patterned paper that I had scraps of lying around.  This is a good project to use up scraps!
 
I hope this system helps me become more organized.  I don't usually forget birthdays, but I do find myself often scrambling to make a card at the last minute.  Perhaps this will help me to have some cards prepared in advance.  One can always hope! 


Saturday, May 24, 2014

Sympathy card

I made this sympathy card for my mom to give to one of her friends.  I used Studio G card base, Bazzill cardstock (pink) and two stamp sets from Sweet and Sassy Stamps.  I colored the image with copic markers. 

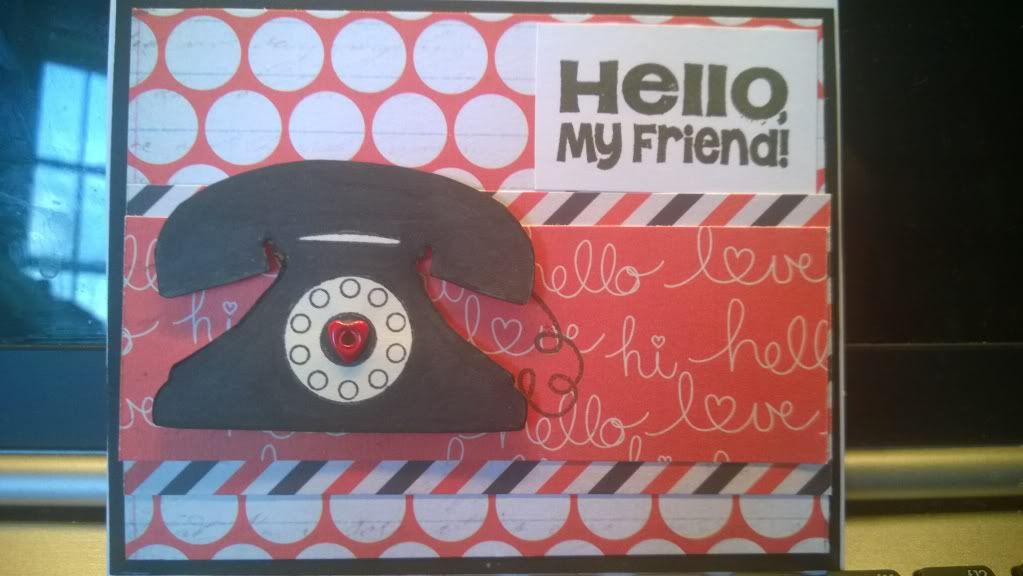
Call Me!

I made this card with a stamp set from Stephanie Bernard's Stamps of Life and patterned paper "switchboard" by Pink Paislee.  

Thursday, May 8, 2014

Happy Mother's Day

I made two Mother's Day cards this year, both utilizing the Silhouette cutting machine. 

card one: 
 
this is the card I made with my Daughter's card class.  I have found when gluing very delicate pieces of paper like the darker outline on this rose, it's best to use a spray adhesive.  Using a Xyron sticker maker works, but then you wind up with the little bits of glue in the small places that are hard to remove.  This way it's much cleaner. 
 
Card two: 
 
This card was also cut with the Silhouette.  I adhered it onto white cardstock, then used copic markers to color in the images. 

Wednesday, April 30, 2014

Lawn Fawn Love 'n Breakfast

I absolutely love Lawn Fawn stamps!  The sweet little smiles, the charming little sayings, they get me every time.  


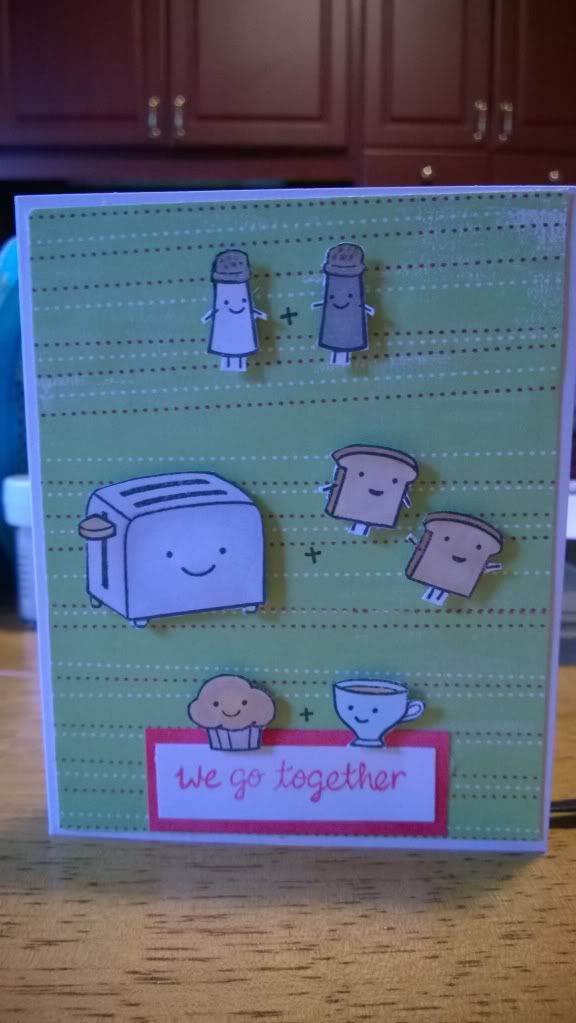
Like Peanut Butter and Jelly

When I first saw this stamp set I thought, "What in the world will I do with this?"  But I have warmed up to it, and once I started using it I thought it was very cute.  I made this card for my husband who was having a rough time at work.  I snuck it into his car and later in the day sent him a text to look for it.  Doesn't matter how long you have been married, your sweetie still likes to get a little love note from time to time! 


Sunday, November 24, 2013

Chocolate Sleigh

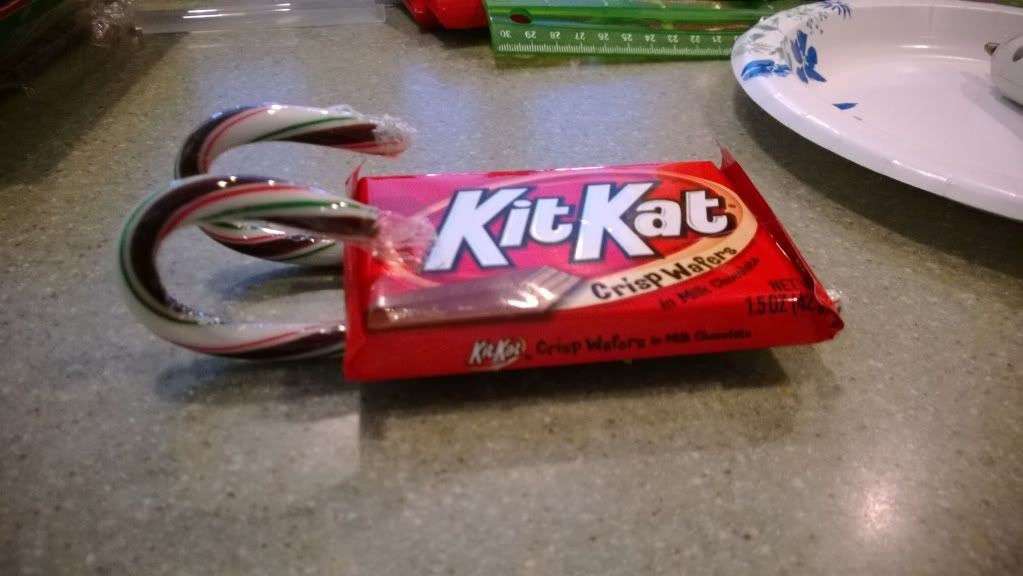
Who doesn't love chocolate?  I don't know anyone who doesn't love chocolate, but if I did I wouldn't trust them!   My children did this craft at their church youth group and I thought it really clever and cute.  I am making a bunch of these to give to my friend Carolyn.  She's in a nursing home and she loves to give gifts, so I thought these would be nice to give to her so that she can give them out to friends who visit as well as friends she's made there.  I think they would make good little gifts for people like teachers, priests or pastors, hairdressers, or others who make our lives a little brighter all year long.  I'm going to give one to the man who does my nails and my milkman too!  You could also tape a gift card underneath. 


You need a hot glue gun, candy canes, Hershey's miniature chocolates (Christmas edition is nice), ribbon and mini bows.  Three bags of miniatures, two packages of candy canes, and two packages of regular size Kit Kat bars made approximately 11 sleighs.  I would suggest buying one more extra of the miniatures and the candy canes because the candy canes can break.


I used a glue gun to assemble this.  If you want to do this as an activity with your children, I would suggest having an adult use a glue gun to adhere the candy canes to the Kit Kat bars, and have the children use white glue to adhere the Hershey's miniatures in a pyramid on top, then have the adult adhere the ribbons and bows with a glue gun.


When gluing on the candy canes, make sure the curved end is out far enough from the Kit Kat bar so that a miniature can hang over the edge slightly.  If the curved part is too close you won't be able to fit the miniature underneath.  To make the sleigh look uniform, use the same color wrapper on each layer, and orient the bars the same way on each layer.


Happy sledding!